
How to Install Speed Bumps: A Practical Speed Bump Installation Guide
Speed bumps are an effective solution for slowing traffic in car parks and on private roads. But a badly installed speed bump can work loose under traffic and damage vehicles.
This guide uses the Sino Concept 5 cm speed bump to explain how to create a stable and visible installation.
Discover our full range of Speed Bumps and Speed Humps!
Start with the Location and Local Rules
Bolt down speed bumps in the wrong place can cause more problems than it solves. Drivers may see it too late, and a weak road surface will not hold the fixings.
Check the site before you mark the position:
- Road Surface: the ground must be flat. Avoid potholes, cracks, and loose block paving.
- Visibility: drivers should see the speed bump 20–30 m before they reach it.
- Drainage: leave a short distance between the speed bump and the kerb so water can still run past.
In the UK, they must be 25–100 mm high and at least 30 m from a zebra or pelican crossing. On private land, the owner decides where they go, but warning signs are still recommended.
Get Ready for Speed Bump Installation
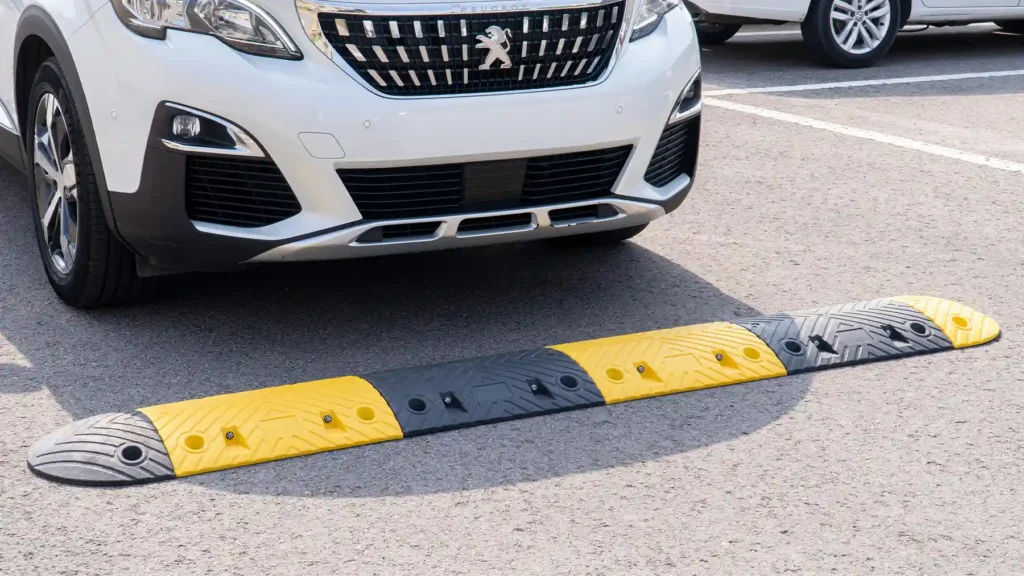
Check the parts first. You need enough middle sections to cover the lane, plus two end caps.
The road surface must be level and able to accept the anchors. Check for cracks, standing water and buried services before drilling.
Required tools and fixings include:
- Tape measure & marker
- Broom & blower
- Rubber mallet
- Rotary hammer
- Masonry drill bit
- Impact wrench & nutsetter
- Coach screws & plastic anchors
- Safety gloves

If you choose Sino Concept, the coach screws and plastic anchors suit both asphalt and concrete.
Plan how many yellow and black sections you need in advance, and bring a few extra to avoid missing colours in the final layout.
How to Install a Speed Bump: Step by Step
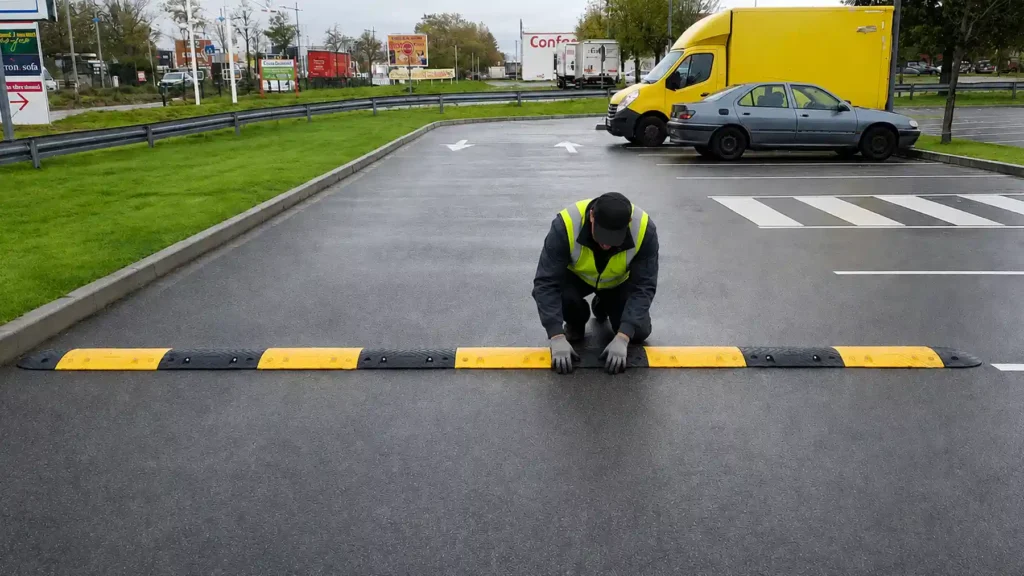
Follow the steps in order. Do not drill any holes until the complete speed bump is assembled and in the correct position.
Prepare the Installation Area
Sweep the installation area. Remove gravel, dirt and oil. Avoid cracked or uneven areas.
Mark the position of the speed ramp. Keep the installation line straight.

Combine the Middle Parts and End Caps
Assemble the speed bump in its final position before drilling.
Connect all sections with the male-female connectors, keeping the yellow-and-black sequence consistent.
Add or remove sections until the total length matches the approved layout.
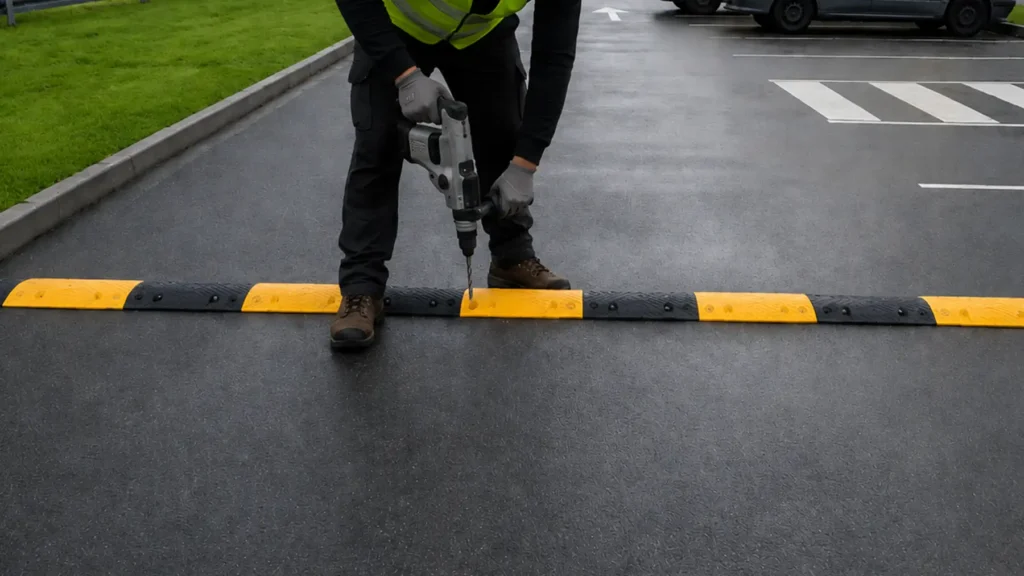
Mark and Drill Every Mounting Point
Check the final position. Keep the assembled speed bump straight and flat on the surface.
Use a rotary hammer fitted with a masonry drill bit smaller than Ø12 mm (approx. 0.47″) to lightly mark the ground through every mounting hole.
Before you move the speed bump, check that every mounting hole has left a clear mark.
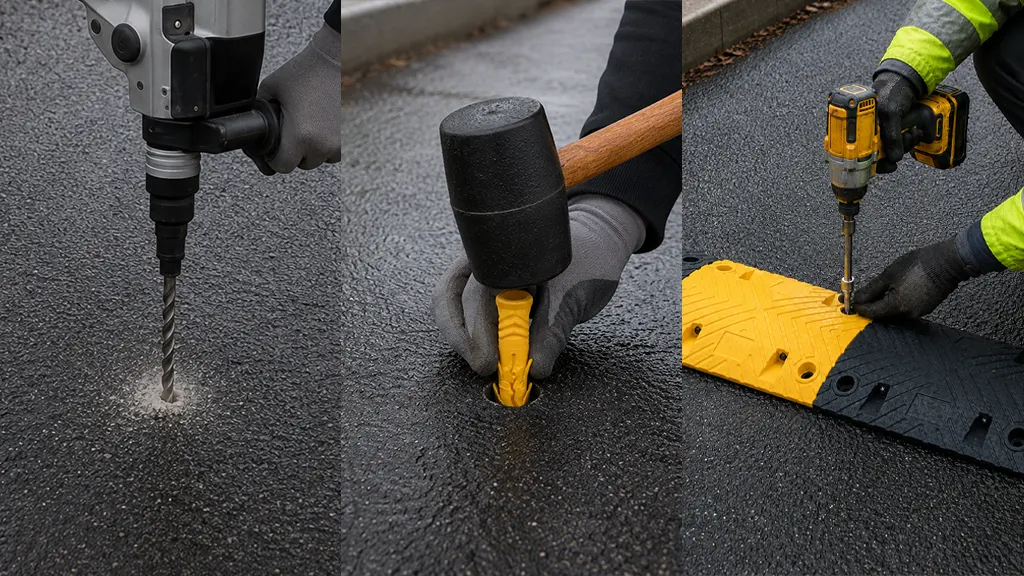
Secure the Speed Bumps
Remove the speed bump. Use a rotary hammer with a Ø18 mm (approx. 0.71″) masonry drill bit, 260 mm (approx. 10.24″) long, to drill each mark to a depth of 115–125 mm (approx. 4.5–5″). Keep the drill straight.
Then tap in a plastic anchor with a rubber mallet.
Reposition the speed bump, then use an impact driver with a 17 mm (11/16″) impact socket, 75 mm (3″) long, to tighten the hex flange coach screws.
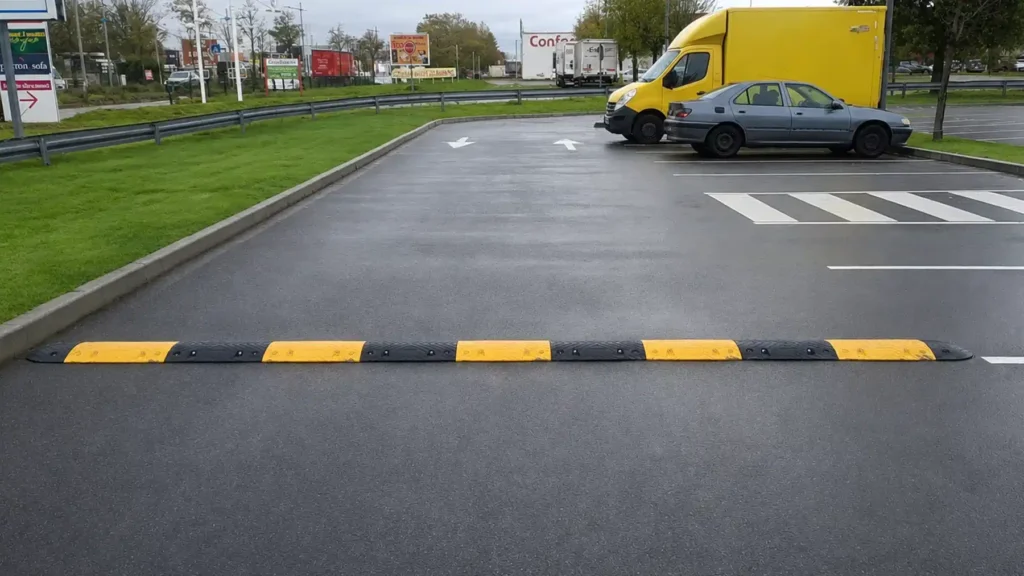
Inspect and Test Before Opening to Traffic
Check that every section and end cap is fixed and no part moves by hand.
Heavy vehicles can loosen the screws over time. Check them again after the first week, then every few months, and retighten any that have come loose.
Don't Let Drivers Hit It Blind: Add Speed Bump Signs
Drivers slow down in time only if they know a speed bump is coming. Without a sign, they may brake late or cross it too fast, especially at night.
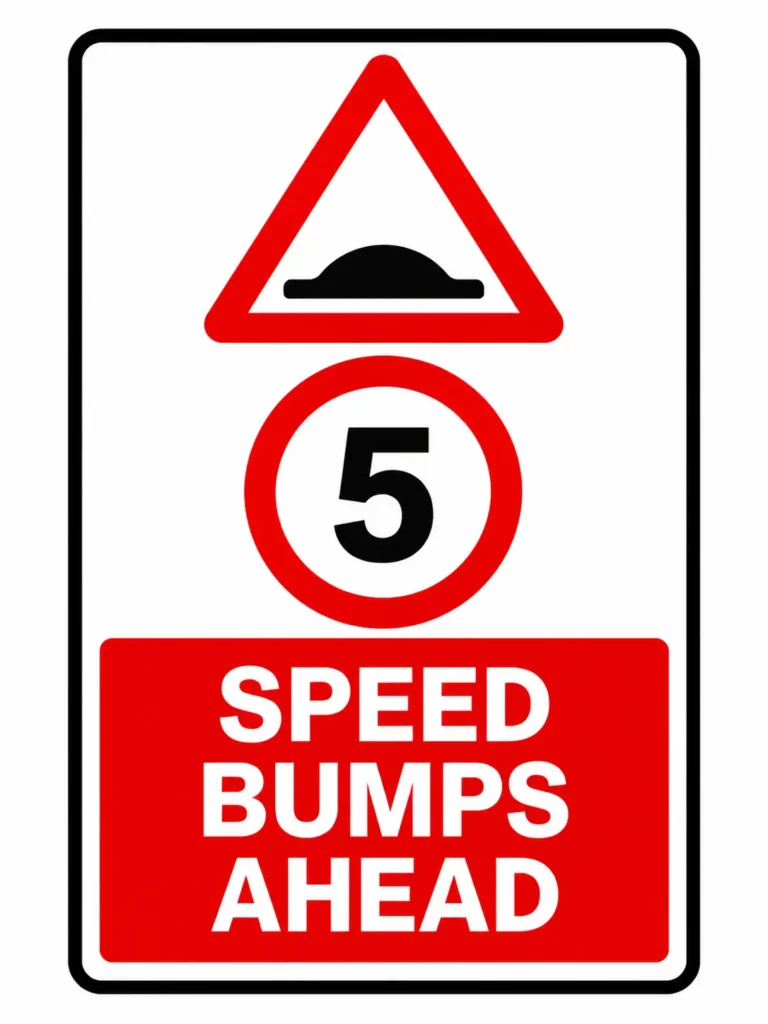
Put a warning sign before the speed bump, or before the first one in a series. A clear sign shows:
- a red triangle with the speed bump symbol
- the recommended speed, such as 5 mph or 8 km/h
- a short text plate, such as “Speed bumps ahead”
On private sites, place the sign about 20–30 m before the speed bump. Use a reflective sign if the site is used after dark. Keep it clear of parked cars and hedges.
Conclusion
Speed ramps look simple, but they do an important job. They slow vehicles at entrances, protect pedestrians and reduce the risk of accidents in busy areas.
Most speed bump problems come from small mistakes during installation.
Planning your next order? Tell us the quantity you need, and our team will send you a quote with pricing and lead time.